5 Tips to Photograph a Large Group
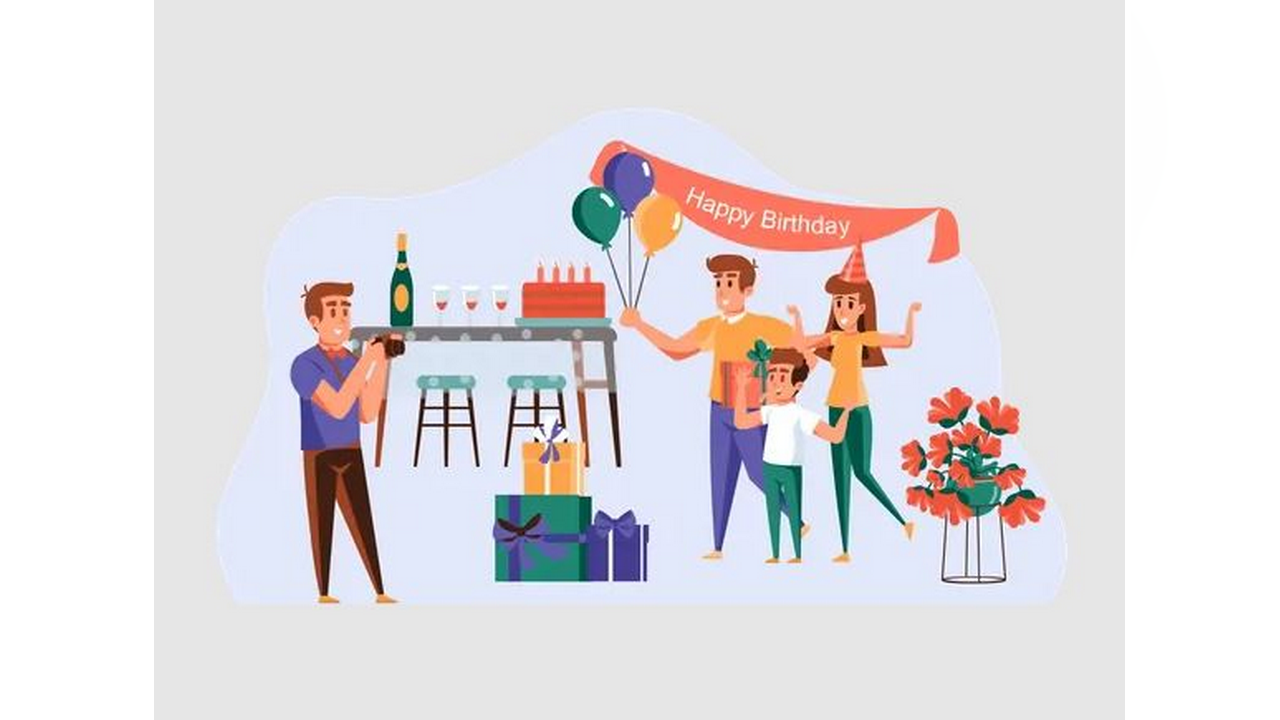
Photographing a large group can be both an exhilarating and challenging experience. Whether it's a family reunion, a wedding party, or a corporate event, capturing everyone in one cohesive shot requires careful planning and execution. Below are five essential tips to help you successfully photograph a large group while ensuring that the final image is both flattering and memorable.
1. Choose the Right Location
The location plays a crucial role in the success of a large group photo. Look for a spot that provides ample space to accommodate everyone comfortably. A well-lit area, preferably with natural light, is ideal, as it reduces harsh shadows and enhances the overall image quality. Outdoor locations like parks, gardens, or scenic overlooks can create beautiful backdrops, but be mindful of the time of day to avoid harsh sunlight, which can cause squinting.
If you choose an indoor venue, ensure it is spacious enough to avoid crowding. Consider the background as well; a clutter-free or aesthetically pleasing backdrop will enhance the image. You might also want to scout the location ahead of time to find the best angles and lighting conditions. This preparation can help alleviate stress on the day of the shoot, allowing you to focus on getting the best possible photos of the group.
2. Plan the Composition
Planning the composition of your photo is essential for achieving a balanced and harmonious image. Arrange the group in a way that creates depth and interest. For larger groups, consider using tiers or levels, with taller individuals in the back and shorter ones in the front. This arrangement helps to ensure that everyone is visible in the shot.
You can also experiment with different formations, such as a semicircle or a staggered line, to see what works best for the group size and the location. Additionally, incorporating some candid shots of the group interacting can provide a more dynamic and lively feel to the final collection of photographs. Remember that a little bit of chaos can add character, so don’t be afraid to capture spontaneous moments as they occur.
3. Communicate Clearly
Effective communication is key when photographing large groups. Before the photo session, take the time to explain what you want from the group. This can include their arrangement, expressions, and poses. You may need to direct them in real-time, so establish a clear voice and presence.
Consider using a loud and confident tone to get everyone’s attention, especially in a noisy environment. You can also use visual cues, such as raising your camera to signal when you are ready to take the shot. It may be helpful to appoint a few individuals as 'assistants' to help with crowd control and to ensure everyone is facing the camera.
Additionally, you may want to create a fun and relaxed atmosphere by encouraging laughter and interaction. This can help to ease any tension and yield more natural expressions, resulting in a more authentic group photo. Remember, the goal is to capture the essence of the group, so encouraging genuine interactions is vital.
4. Use the Right Equipment
Having the right equipment can significantly impact the quality of your group photographs. A wide-angle lens is often beneficial when photographing larger groups, as it allows you to capture more of the scene without having to step back too far. Ideally, a lens with a focal length between 24mm and 35mm works well for this purpose.
Additionally, consider using a tripod to stabilize your camera, especially in low-light conditions. This helps to reduce motion blur, ensuring that every detail is sharp and clear. If possible, bring along an external flash or reflector to enhance lighting, particularly for indoor events or when shooting in shaded areas outdoors. These tools can help create a more even and flattering light across the group, minimizing shadows and highlighting faces.
Finally, ensure that your camera settings are optimized for group photography. Use a smaller aperture (higher f-stop number) to achieve a greater depth of field, ensuring everyone in the group is in focus. Experimenting with settings ahead of time can help you feel more prepared and confident on the day of the shoot.
5. Post-Processing and Editing
After the photo session, post-processing can elevate your images from good to great. Use editing software to adjust brightness, contrast, and saturation, ensuring that the colors are vibrant and true to life. Pay attention to skin tones, as you may need to tweak these to ensure everyone looks their best.
Consider cropping the image to improve the composition, focusing on the main subjects while eliminating distractions from the edges. If you captured multiple shots of the group, select the best images where everyone appears natural and engaged. You can also apply subtle retouching techniques to enhance features without making the image look overly edited.
Lastly, don't forget to share the final images with the group! Providing them with digital copies or prints allows everyone to cherish the memories made during the gathering. Additionally, you might consider creating a photo album or slideshow to showcase the event, which can serve as a wonderful keepsake for years to come.


Comments (0)